Dreamweaver

Build the delete page

After completing the page listing the records, switch to the delete page. The delete page shows the record and asks the user if they're sure they want to delete it. When the user confirms the operation by clicking the form button, the web application deletes the record from the database.

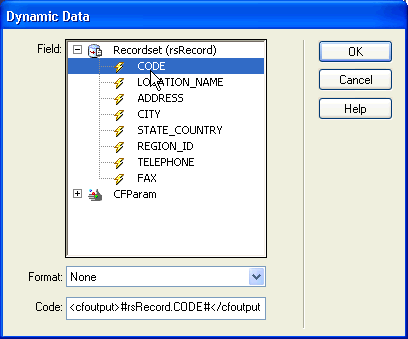
Building this page consists of creating an HTML form, retrieving the record to display in the form, displaying the record in the form, and adding the logic to delete the record from the database. Retrieving and displaying the record consists of defining a recordset to hold a single record—the record the user wants to delete—and binding the recordset columns to the form.

Note: The delete page can contain only one record-editing server behavior at a time. For example, you cannot add an Insert Record or an Update Record server behavior to the delete page.

Create an HTML form to display the record

  1. Create a page and save it as the delete page you specified in the previous section.

    You specified a delete page when you created the Delete link in the previous section. Use this name when saving the file for the first time (for example, deleteConfirm.cfm).

  2. Insert an HTML form on the page (Insert > Form > Form).
  3. Add a hidden form field to the form.

    The hidden form field is required to store the record ID passed by the URL parameter. To add a hidden field, place the insertion point in the form and select Insert > Form > Hidden Field.

  4. Add a button to the form.

    The user will click the button to confirm and delete the displayed record. To add a button, place the insertion point in the form and select Insert > Form > Button.

  5. Enhance the design of the page any way you want and save it.

Retrieve the record the user wants to delete

  1. In the Bindings panel (Window > Bindings), click the Plus (+) button and select Recordset (Query) from the pop‑up menu.

    The simple Recordset or DataSet dialog box appears. If the advanced Recordset dialog box appears instead, click Simple.

  2. Name the recordset, and select a data source and the database table that contains the records that users can delete.
  3. In the Columns area, select the table columns (record fields) you want to display on the page.

    To display only some of the record’s fields, click Selected and choose the desired fields by Control‑clicking (Windows) or Command-clicking (Macintosh) them in the list.

    Make sure to include the record ID field even if you won't be displaying it.

  4. Complete the Filter section as follows to find and display the record specified in the URL parameter passed by the results page:
    • From the first pop‑up menu in the Filter area, select the column in the recordset containing values that match the value of the URL parameter passed by the page with the Delete links. For example, if the URL parameter contains a record ID number, select the column containing record ID numbers. In the example discussed in the previous section, the recordset column called CODE contains the values that match the value of the URL parameter passed by the page with the Delete links.

    • From the pop‑up menu beside the first menu, select the equal sign, if not already selected.

    • From the third pop‑up menu, select URL Parameter. The page with the Delete links uses a URL parameter to pass information to the delete page.

    • In the fourth box, enter the name of the URL parameter passed by the page with the Delete links.

      The simple Recordset dialog box.

  5. Click OK.

    The recordset appears in the Bindings panel.

Display the record the user wants to delete

  1. Select the recordset columns (record fields) in the Bindings panel, and drag them to the delete page.

    Make sure you insert this read-only dynamic content within the form boundaries. For more information on insert dynamic content in a page, see Make text dynamic.

    Next, you must bind the record ID column to the hidden form field.

  2. Make sure Invisible Elements are enabled (View > Visual Aids > Invisible Elements), and then click the yellow shield icon that represents the hidden form field.

    The hidden form field is selected.

  3. In the Property inspector, click the lightning bolt icon beside the Value box.
  4. In the Dynamic Data dialog box, select the record ID column in the recordset.

    In the following example, the record ID column, CODE, contains unique store codes.

    Record ID column selected

  5. Click OK and save the page.
    Completed delete page