

Set strokes
You can apply strokes, or
line settings, to paths, shapes, text frames, and text outlines.
The Stroke panel provides control over the weight and appearance
of the stroke, including how segments join, start and end shapes,
and options for corners. You can also select stroke settings in
the Control panel when a path or frame is selected.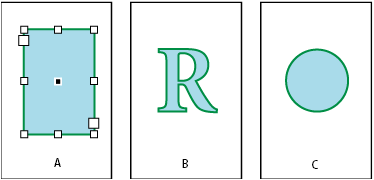
 If you frequently use the same stroke settings,
you can save the settings in an object style, and quickly apply
the same settings to any object. For more information, see About object styles.
If you frequently use the same stroke settings,
you can save the settings in an object style, and quickly apply
the same settings to any object. For more information, see About object styles.
Applying strokes
- A.
- Stroke applied to text frame
- B.
- Stroke applied to text outline
- C.
- Stroke applied to circle
If you frequently use the same stroke settings,
you can save the settings in an object style, and quickly apply
the same settings to any object. For more information, see About object styles.- Select the path whose stroke you want to modify.
Note: When you select a path using the Selection tool
 , you
activate a bounding box that encompasses the entire object. If you
want to see the actual path, select the path using the Direct Selection
tool
, you
activate a bounding box that encompasses the entire object. If you
want to see the actual path, select the path using the Direct Selection
tool  instead.
Note: If you want to change the stroke’s color,
use the toolbox and Swatches panel. See Apply color.